
How to Wash a Makeup Sponge
author: Fay Brush
2025-08-22
How to Wash a Makeup Sponge
Makeup sponges are a staple in any beauty routine—they blend foundation, concealer, and creams flawlessly, leaving a airbrushed finish. But to keep them hygienic and effective, regular cleaning is non-negotiable. In this guide, we’ll break down the most common types of makeup sponges and teach you how to wash each one properly.
Types of Makeup Sponges
Before diving into cleaning, let’s identify the main types of makeup sponges you might own. Each is designed for specific uses, but their cleaning methods vary slightly based on material.
1. Latex Sponges
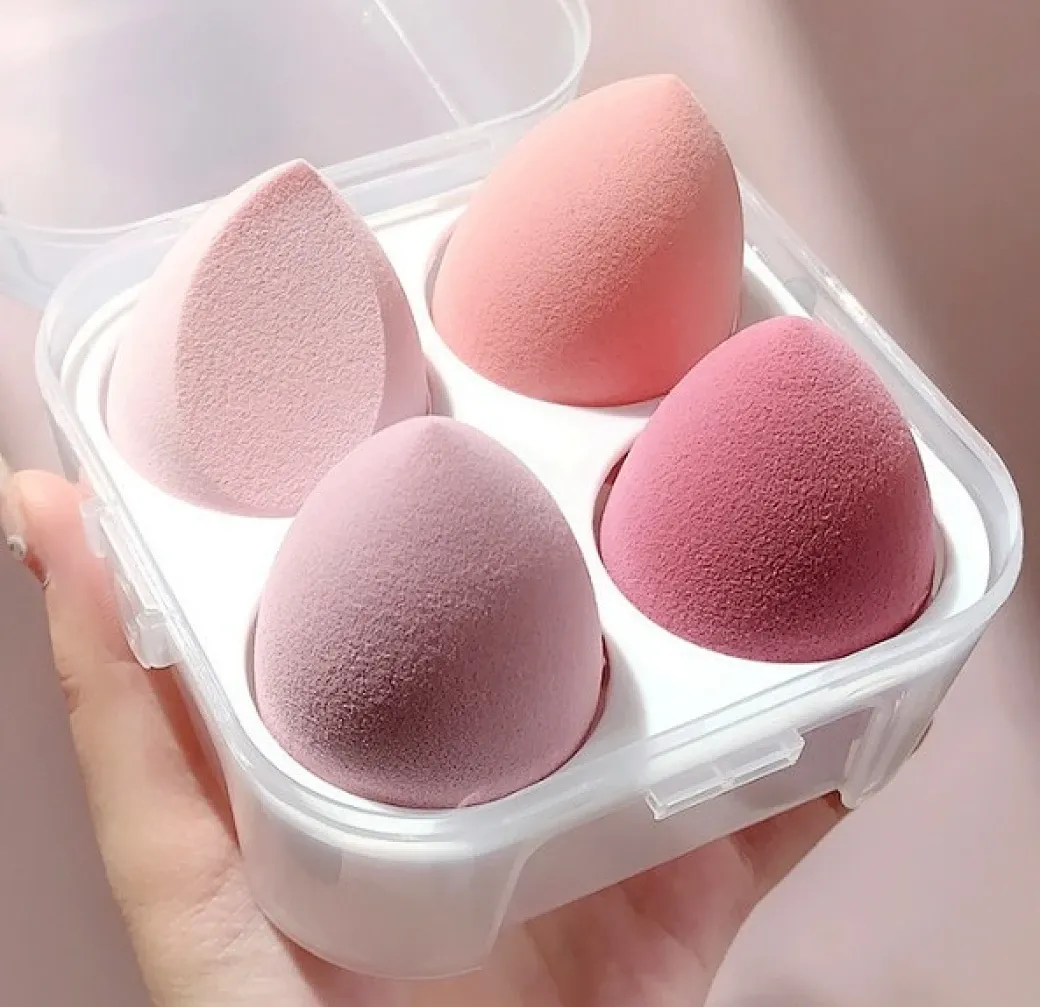
Latex sponges are affordable and have a bouncy texture. They’re great for liquid or cream products but can absorb more product than other types. Note: Some people are allergic to latex, so opt for alternatives if you have sensitive skin.
2. Non-Latex (Polyurethane) Beauty Sponges
The most popular option, non-latex sponges (often made of polyurethane) are hypoallergenic and softer. Brands like BeautyBlender popularized this type—they’re ideal for seamless blending and work well with all makeup formulas.
3. Silicone Sponges
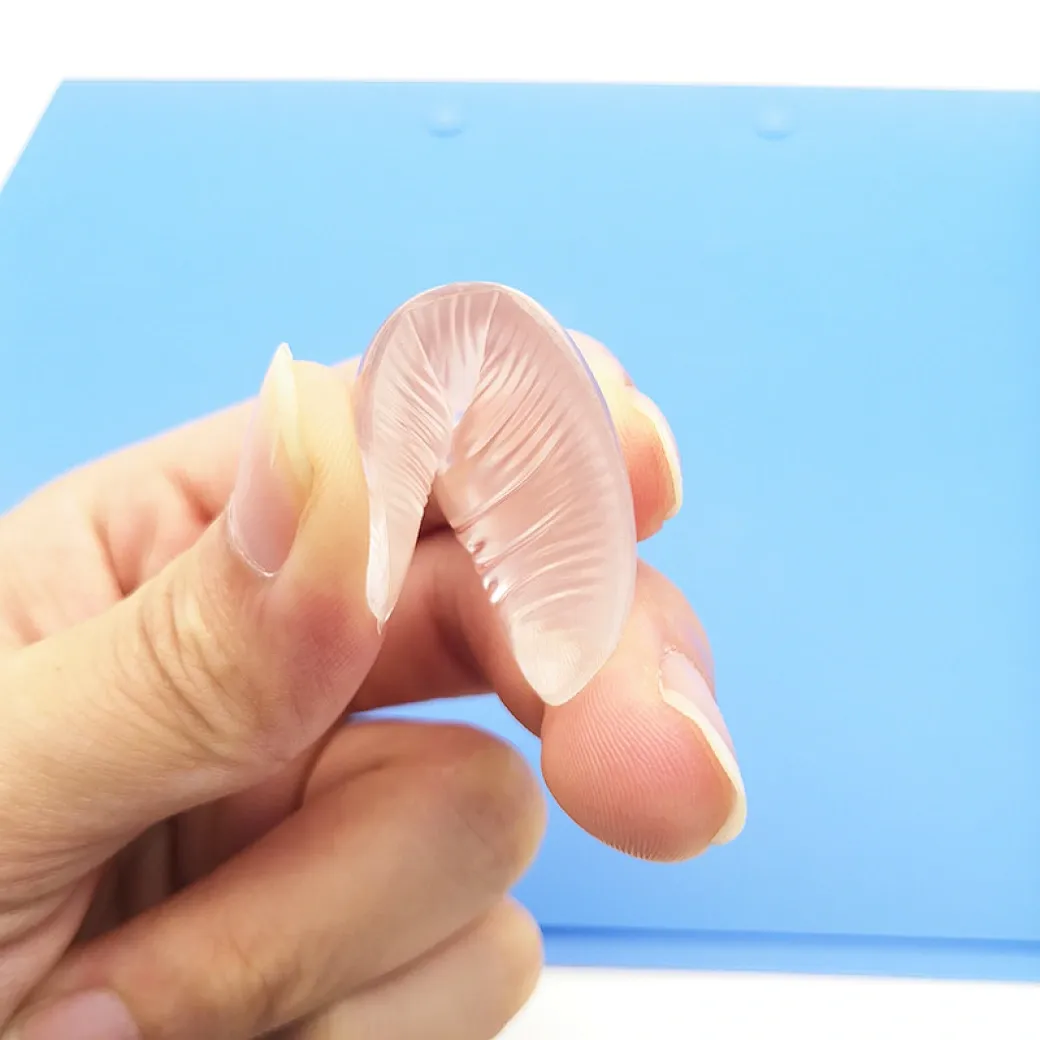
Silicone sponges are reusable, non-absorbent, and easy to clean. They’re perfect for applying foundation without wasting product, but they don’t blend as smoothly as latex or non-latex options.
How to Wash Each Type of Makeup Sponge
No matter the material, aim to wash your sponge after every 1-2 uses to prevent bacteria buildup. Here’s how to clean each type:
1. Washing Latex or Non-Latex Sponges
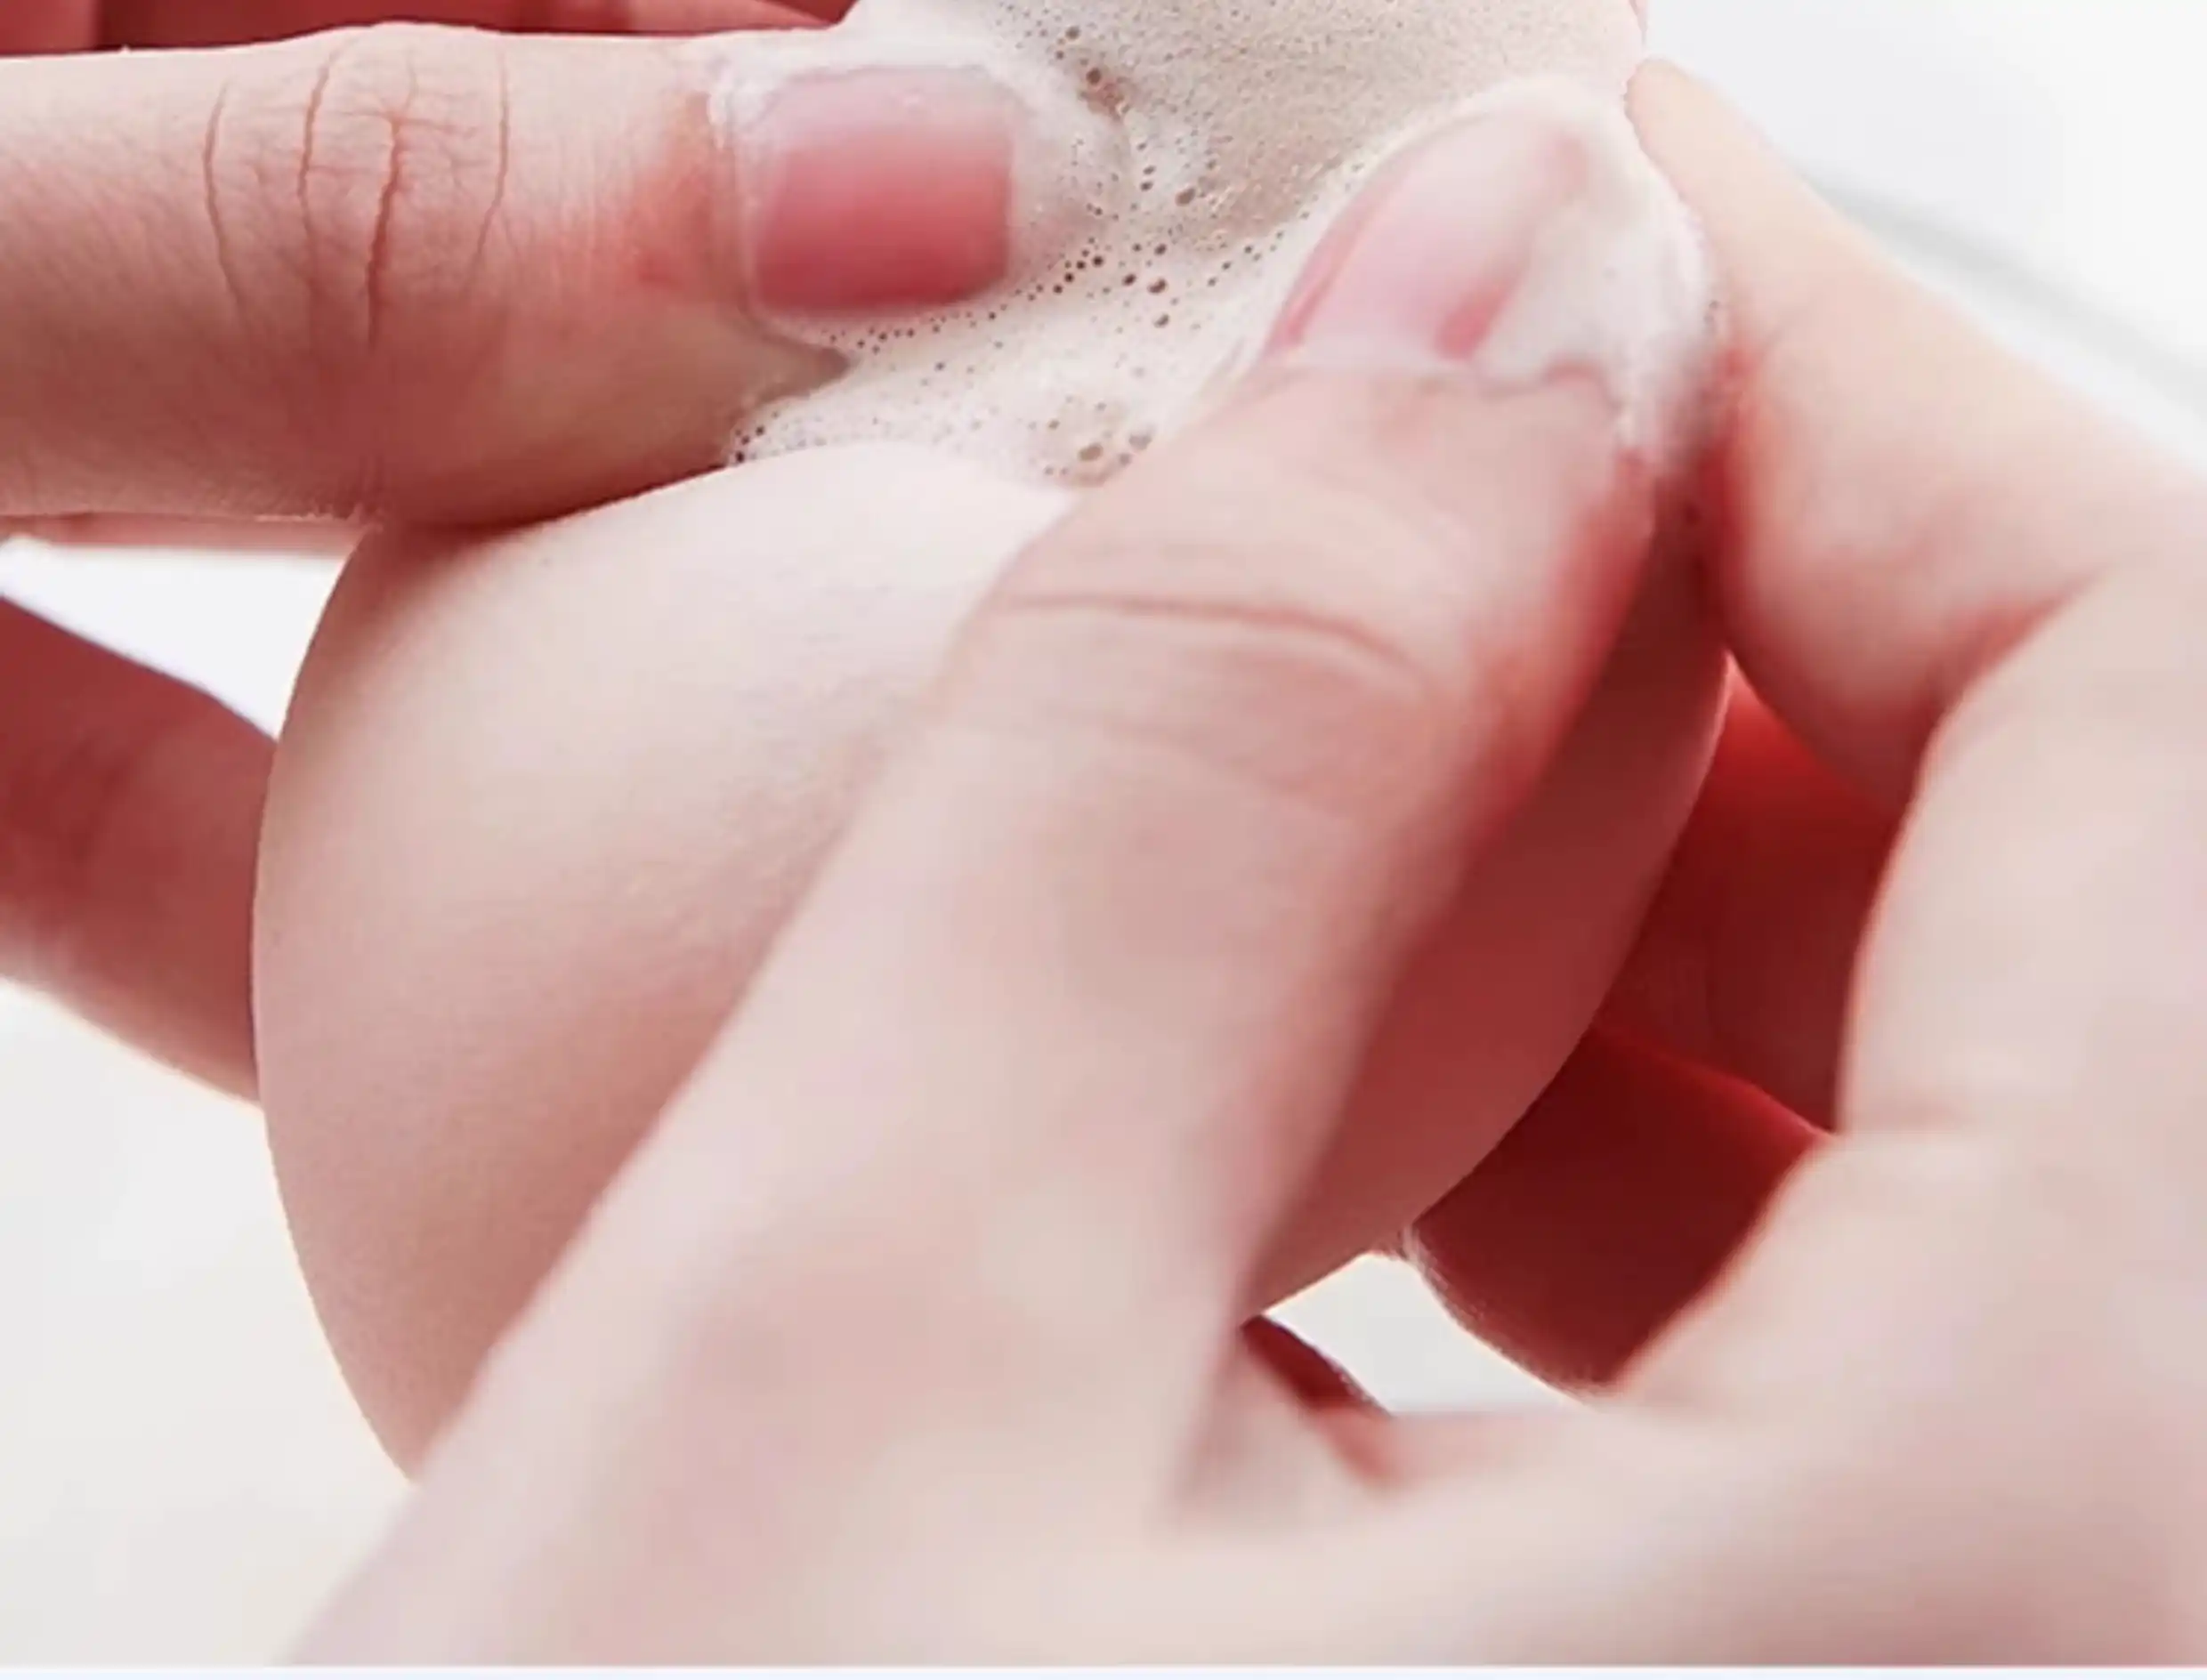
These sponges are porous, so they need gentle cleaning to avoid tearing.
What you’ll need:
- Mild soap (baby shampoo, dish soap, or dedicated sponge cleanser)
- Warm water
- Towel
Steps:
- Rinse the sponge under warm water to remove surface makeup.
- Apply a small amount of soap directly to the sponge. Gently squeeze it to work the soap into a lather—avoid twisting or pulling, as this can damage the sponge.
- Continue squeezing under running water until the water runs clear (no more makeup or soap suds).
- Squeeze out excess water (don’t wring!) and reshape the sponge to its original form.
- Air-dry on a clean towel or sponge holder. Avoid direct sunlight or heat sources, which can harden the sponge.
2. Washing Silicone Sponges
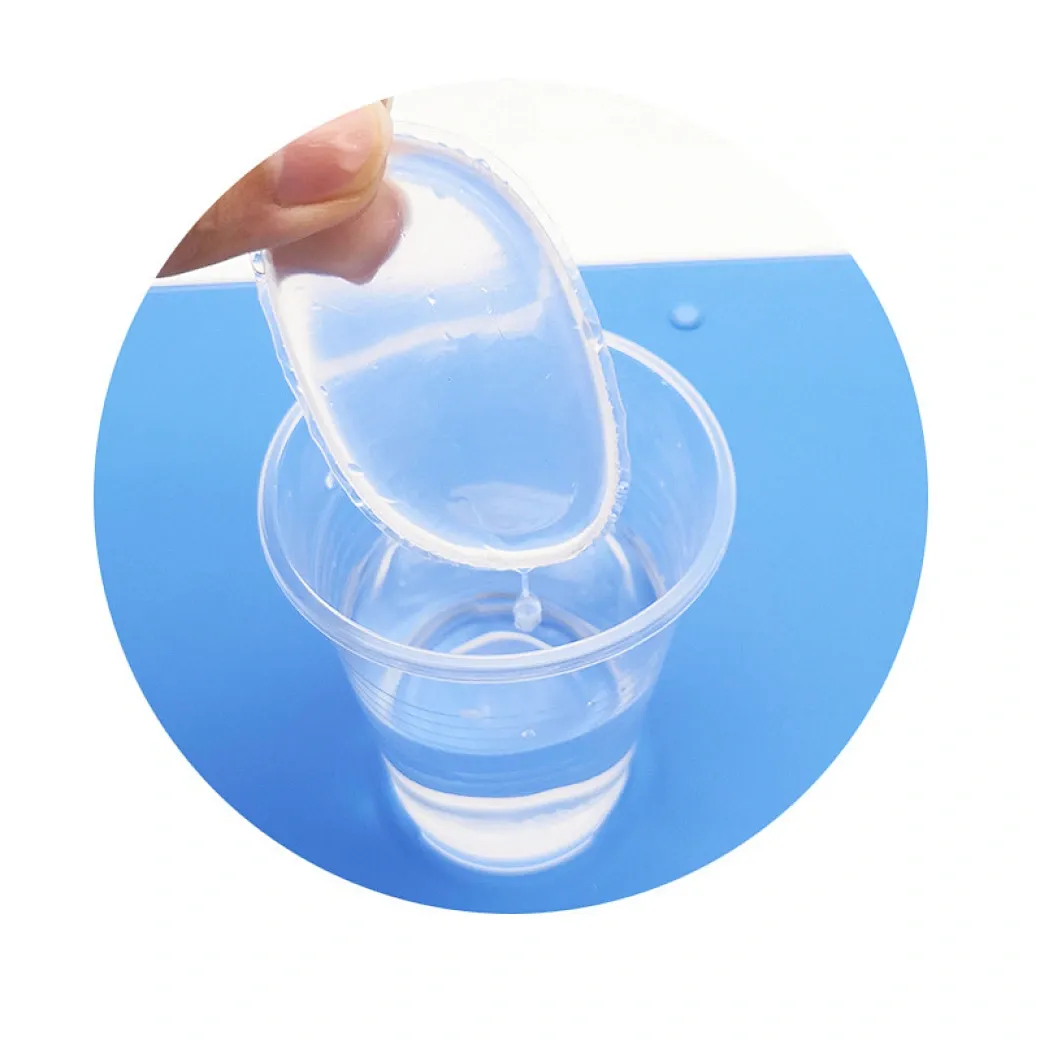
Silicone sponges are low-maintenance thanks to their non-porous surface.
What you’ll need:
- Mild soap or rubbing alcohol
- Warm water
- Cloth or your hands
Steps:
- Rinse the silicone sponge under warm water.
- Apply soap or rubbing alcohol to the surface. Use your fingers or a cloth to wipe away makeup residue—silicone is durable, so you can scrub gently without damage.
- Rinse thoroughly to remove all soap or alcohol.
- Pat dry with a towel or let it air-dry. It will dry much faster than latex or non-latex sponges!
Pro Tips for Long-Lasting Sponges
- Avoid harsh chemicals like bleach or acetone—they can break down the sponge’s material.
- Don’t share sponges—this spreads bacteria between users.
- Replace sponges regularly: Latex/non-latex sponges last 1-3 months with proper care; silicone sponges can last 6+ months.
- Use a cleaning mat (with textured surfaces) to deep-clean stubborn makeup stains—just lather the sponge on the mat while squeezing.
By following these steps, your makeup sponges will stay clean, soft, and ready to deliver flawless makeup application every time.
Makeup Brush Packaging Matters
Your Beauty Routine for Eco Makeup Brushes
Related Article
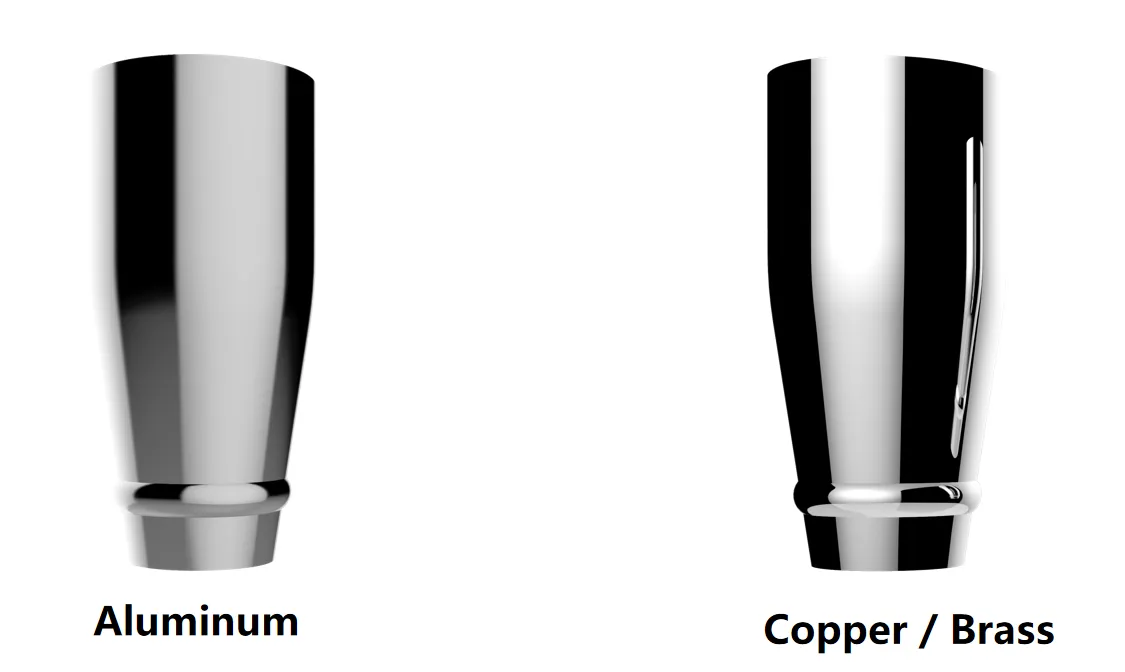
The complete OEM guide to makeup brush ferrules — aluminum vs. copper vs. brass, plating options, crimping types, and how ferrule spec controls cost, weight, and brush lifespan.
The Makeup Brush Ferrule Guide and Why This Part Decides Brush Life
Compare makeup brush handle materials for your OEM line — wood, bamboo, aluminum, plastic, and resin. Costs, finishes, MOQ impact, and customization options explained.
Makeup Brush Handle Materials Guide: OEM Comparison for Brands


CONTACT US

+86 769 81900169

sales@faybrush.com

#172 Huancun Rd, Jinxiaotang Zhutang, Fenggang, Dongguan, 523681 China